This article includes the following:
Tagging Strategy Ideas
You can assign one or more tags to an athlete and name the tag whatever you want. A standard practice is to make tags based on how you already group your athletes (i.e. age, gender, program).
Here are some example tagging options:
- Tag by age - U14, U16, FIS
- Tag by gender - Men, Women
- Tag by training group - Speed, Tech
- Tag by program - Full Time, Part Time
Creating, Modifying and Deleting Tags
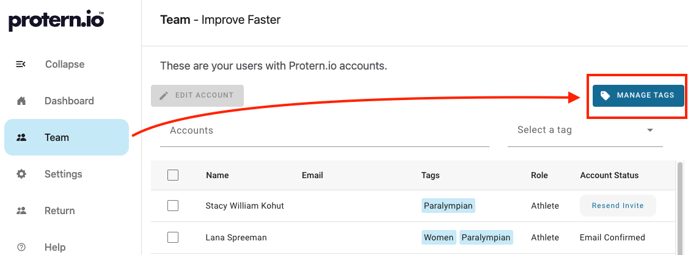
All the tag management is done on the Teams page.
- Navigate to the Team page and click Manage Tags
- To create a tag, enter the name of the tag you would like and click Add
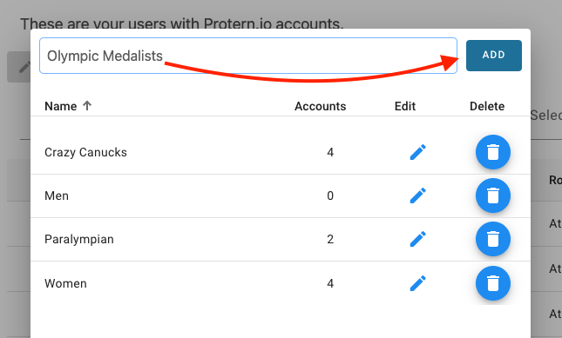
- To modify a tag, click the pencil icon, edit the tag text and press enter to save.

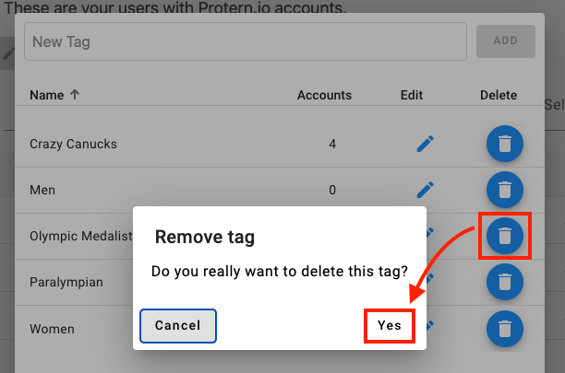
- To delete a tag, click on the trash can icon and click yes to confirm.
Assigning Tags to Athletes
- Select the all the athletes you would like to add a to certain tag, then click Edit Account.
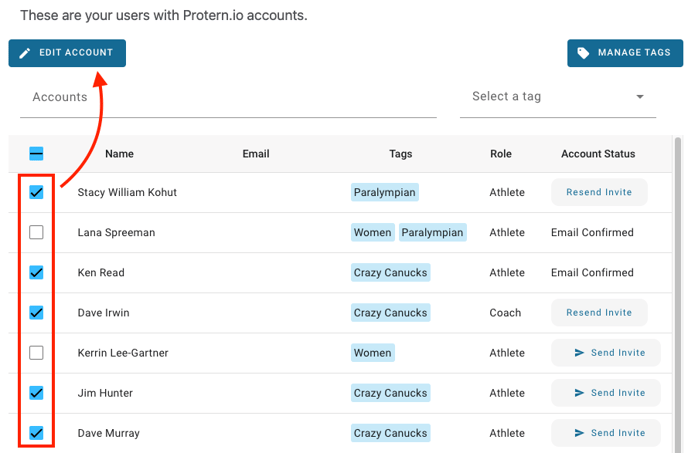
- Click the tag you want to apply to all the selected athletes, then press Apply.

- A checkbox with a blue dash means that only some of the selected athletes have that tag associated to them. Clicking that icon will change it to a checkmark, meaning all the selected athletes will now have that tag. Click the icon once more will remove the tag from all the selected athletes.
