Updating the Protern.io Sensor on Windows
Updating your Protern.io Sensor to get the latest functionality and improved accuracy.
Requirements
Before you get started, here are some things you will need to upgrade and label your Protern.io Sensor:
- USB-C cable (the charging cable that came with the sensor will work)
- Fully charged Protern.io Sensor(s)
- Computer running Windows 10 or later
- Download the Protern.io Sensor Updater and latest Protern.io Sensor Firmware
Step 1: Extract and run the Protern Sensor Updater
Note: Windows 10 Defender SmartScreen will provide a warning about running the updater. You will need to click on Run Anyway to use the program.
- Extract the Protern Sensor Updater.zip file
- Navigate to the extracted folder and double click "Updater.bat"
- You will have to ignore the warnings and click on Run Anyway to run the program
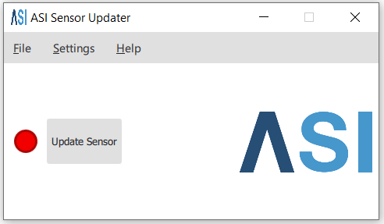
- When the program is running you will see this screen.
Step 2: Upgrade your Protern.io Sensor
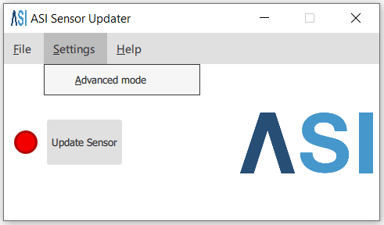
- Click Settings -> Advanced Mode.
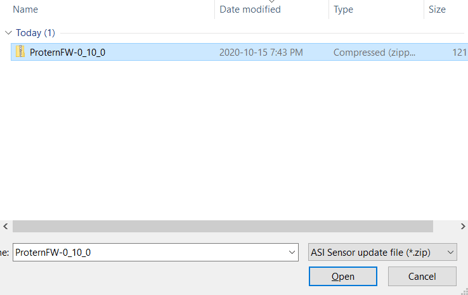
- Find the firmware file you downloaded. On the Protern.io Downloads page you can download the latest Protern.io Sensor firmware.
- Connect the sensor to your PC using the USB cable that came with your sensor.
- Blue light will now be blinking slowly on the sensor and the indicator beside “Update Sensor” button will turn green.
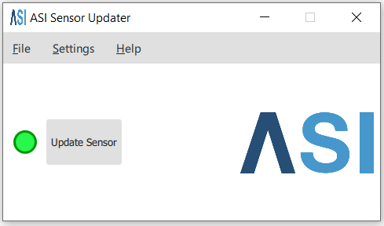
- Click “Update Sensor” Button.
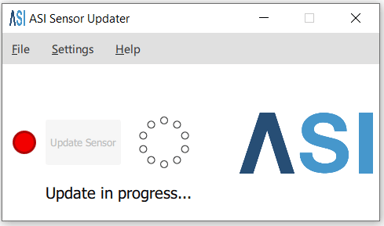
- A message “Update in progress...” will be displayed with a spinning indicator, do not unplug the sensor during the update. This should take approximately 30 seconds
- When complete a dialog will be displayed with the message “The update has been completed successfully”, click “Okay”.
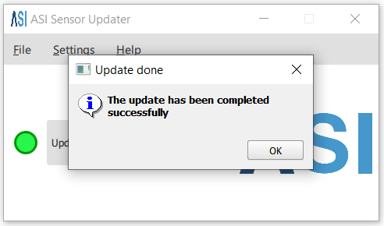
- The sensor firmware has now been updated and the sensor can now be unplugged.
- Repeat for additional sensors.
Note: If the sensor update failed, try again. If it fails a second time, try a different USB port or USB cable. If it still doesn't work, then send a note to support@protern.io .